Beyond the Acronym: What is MOLLE and Why Does It Matter?
Every serious discussion about tactical gear eventually comes back to one system. Modular Lightweight Load-carrying Equipment — MOLLE — is the foundational architecture behind how modern operators, law enforcement professionals, and preparedness-minded civilians organize their gear. Introduced in the late 1990s to replace the older ALICE system, it fundamentally changed what a tactical plate carrier could do.
What is MOLLE and how does it work?
MOLLE defined: A standardized system of rows of webbing or laser-cut slots integrated into carriers, packs, and pouches that allows gear to be attached, removed, and repositioned with precision.
Why It Matters
Before MOLLE, fixed-pocket vests locked users into a predetermined load out. That rigidity cost lives. The shift to modular systems gave wearers direct control over weight distribution — a critical factor when wearing body armor with plates for extended periods. Proper MOLLE spacing ensures that essential gear sits exactly where it needs to be for a specific mission, role, or body type.
For anyone building a ballistic plate carrier MOLLE setup, the grid isn't just a design detail — it's a universal language. Every pouch, holster, and accessory speaks it. Understanding that language is the first step toward a genuinely functional setup.
Before diving into setup strategy, however, it's worth clearing up a terminology issue that confuses nearly every newcomer: the difference between MOLLE and PALS.
MOLLE vs. PALS: Clearing the Jargon Confusion
Before you can master mounting pouches to a plate carrier, you need to untangle two terms that even experienced operators use interchangeably — MOLLE and PALS.
Here's the breakdown for PALS vs MOLLE webbing:
|
Term |
Definition |
Role in Your Gear |
|---|---|---|
|
MOLLE |
Modular Lightweight Load-carrying Equipment |
The overall system — the philosophy of modular attachment |
|
PALS |
Pouch Attachment Ladder System |
The actual webbing grid you see on your tactical plate carrier |
|
MOLLE-compatible |
Industry shorthand for gear designed to work within this system |
The standard label on pouches, carriers, and accessories |
Think of it this way: PALS is the architecture; MOLLE is the ecosystem. When you're following a MOLLE strap attachment guide or learning how to attach MOLLE pouches to your carrier, you're physically interacting with the PALS grid — those rows of 1-inch webbing stitched to the panel. PALS consists of horizontal rows of 1-inch (25 mm) Mil-Spec webbing, spaced 1 inch apart and bar-tacked to the backing at 1.5-inch (38 mm) intervals.
So why does the industry default to "MOLLE-compatible" instead of "PALS-compatible"? Mostly because MOLLE entered the mainstream lexicon first and stuck. In practice, both terms point to the same real-world result: a standardized grid that lets you configure your gear with precision.
Understanding this distinction is crucial — especially when evaluating a bullet proof carrier or comparing tactical plate carriers. The quality of that PALS directly determines how reliably your pouches stay put under stress. That consistency in dimensions isn't cosmetic; it's structural. And as we'll explore next, the exact measurements of that grid have far more consequence than most beginners realize.
The Anatomy of the Grid: How Does MOLLE Work
Understanding what MOLLE webbing is goes beyond recognizing the rows of nylon on a tactical plate carrier — it's about knowing exactly what separates a reliable system from one that fails under pressure.
Standard MOLLE webbing dimensions follow tight military specifications:
-
Webbing width: 1 inch
-
Vertical spacing between rows: 1 inch
-
Horizontal slot width: 1.5 inches
-
Bar tack spacing: Every 1.5 inches along the webbing length
Pro Tip — Bar Tacking: Those small, dense stitches you see at regular intervals? That's bar tacking. It's what prevents webbing from stretching or collapsing under load. On military-grade carriers, bar tacks are non-negotiable. If you can't see them, or they look irregular, that webbing won't hold.
This is where cheap gear exposes itself. When MOLLE dimensions fall out of spec — even by a fraction — the attachment system breaks down. Pouches won’t weave correctly, they’ll sag, shift, or detach entirely when it matters most.
Today, this applies to both traditional sewn webbing and modern laser-cut platforms. Poorly spaced webbing or improperly cut laminate slots create the same failure points. A reliable bulletproof carrier uses attachment fields built to exact tolerances—whether stitched or laser-cut—ensuring consistent pouch retention and long-term durability under load—reflecting the same commitment to precision construction standards seen in Caliber Armor products.
Once you know the grid's specs, the actual attachment process becomes far more intuitive — which is exactly what we'll tackle next.
How to Attach MOLLE Pouches: The 'Over-Under' Masterclass
Grasping how MOLLE works conceptually is one thing — executing the attachment correctly is another. The over-under weave is the foundational technique every tactical plate carrier user needs to master. Done right, your pouches will sit flush, stay silent, and hold firm under hard movement. Done incorrectly, you'll end up with a floppy, rattling mess that could be detrimental in a critical moment. Master the MOLLE with this MOLLE strap attachment guide.

MOLLE Pouch Weaving Instructions:
Step 1: Alignment — Match the Grid
Start by holding your pouch flat against the carrier. Count the PALS rows on your tactical plate carrier and align the attachment straps on the pouch to the corresponding rows. The straps need to sit horizontally across the webbing, not at an angle. This is where most beginners rush and regret it — misaligned straps make the rest of the process harder and the finished result unstable.
Step 2: The Weave — Over, Under, Repeat
This is the heart of the technique. Thread the first strap over the top PALS bar, then push it under the vertical stitch that bisects the row, then back over the next bar, and continue across. Repeat this for each attachment strap, staggering through the rows of the carrier. The weave is what creates the mechanical lock that no amount of tugging can defeat.
"If you don't weave the strap through both the pouch and the vest, you aren't utilizing MOLLE; you're just hanging a pouch by a strap."
Step 3: The Lock — Snap or Tuck
Once fully woven, secure the snap buckle or tuck-tab at the bottom of the strap. This final step prevents the strap from backing out during dynamic movement. Don't skip it — it's the seatbelt of the whole system.
Common Mistakes Checklist
-
❌ Skipping rows — creates "floppy pouch syndrome" where the pouch pivots and sags
-
❌ Only hooking over bars without weaving through the vertical stitching
-
❌ Forgetting to lock the bottom tab after weaving
The Finger Test for Stability
Once attached, try sliding two fingers under the pouch body. You should feel firm resistance with zero pivot. If the pouch rocks or shifts laterally, re-weave and check for skipped rows.
Pro Tip: Tight PALS webbing on a new bullet proof carrier can make threading nearly impossible with bare fingers. Slide a flat-head screwdriver under the webbing bar to create just enough gap to push the strap through cleanly — a go-to trick among experienced users when working with stiff nylon.
Selecting the best MOLLE pouches for plate carriers matters, but even premium gear performs poorly if it's attached incorrectly. Now that you know how to mount pouches with confidence, the next question is where to put them — and that's where smart load distribution strategy comes in.
Strategic Plate Carrier Setup for Beginners
Now that you've nailed the over-under weave, the real question is: where do you put everything? A solid plate carrier beginners guide will always tell you that placement matters just as much as attachment technique. A perfectly woven pouch in the wrong spot creates friction, slows you down, and — in a worst-case scenario — costs you critical seconds.
Front Panel: Prime Real Estate
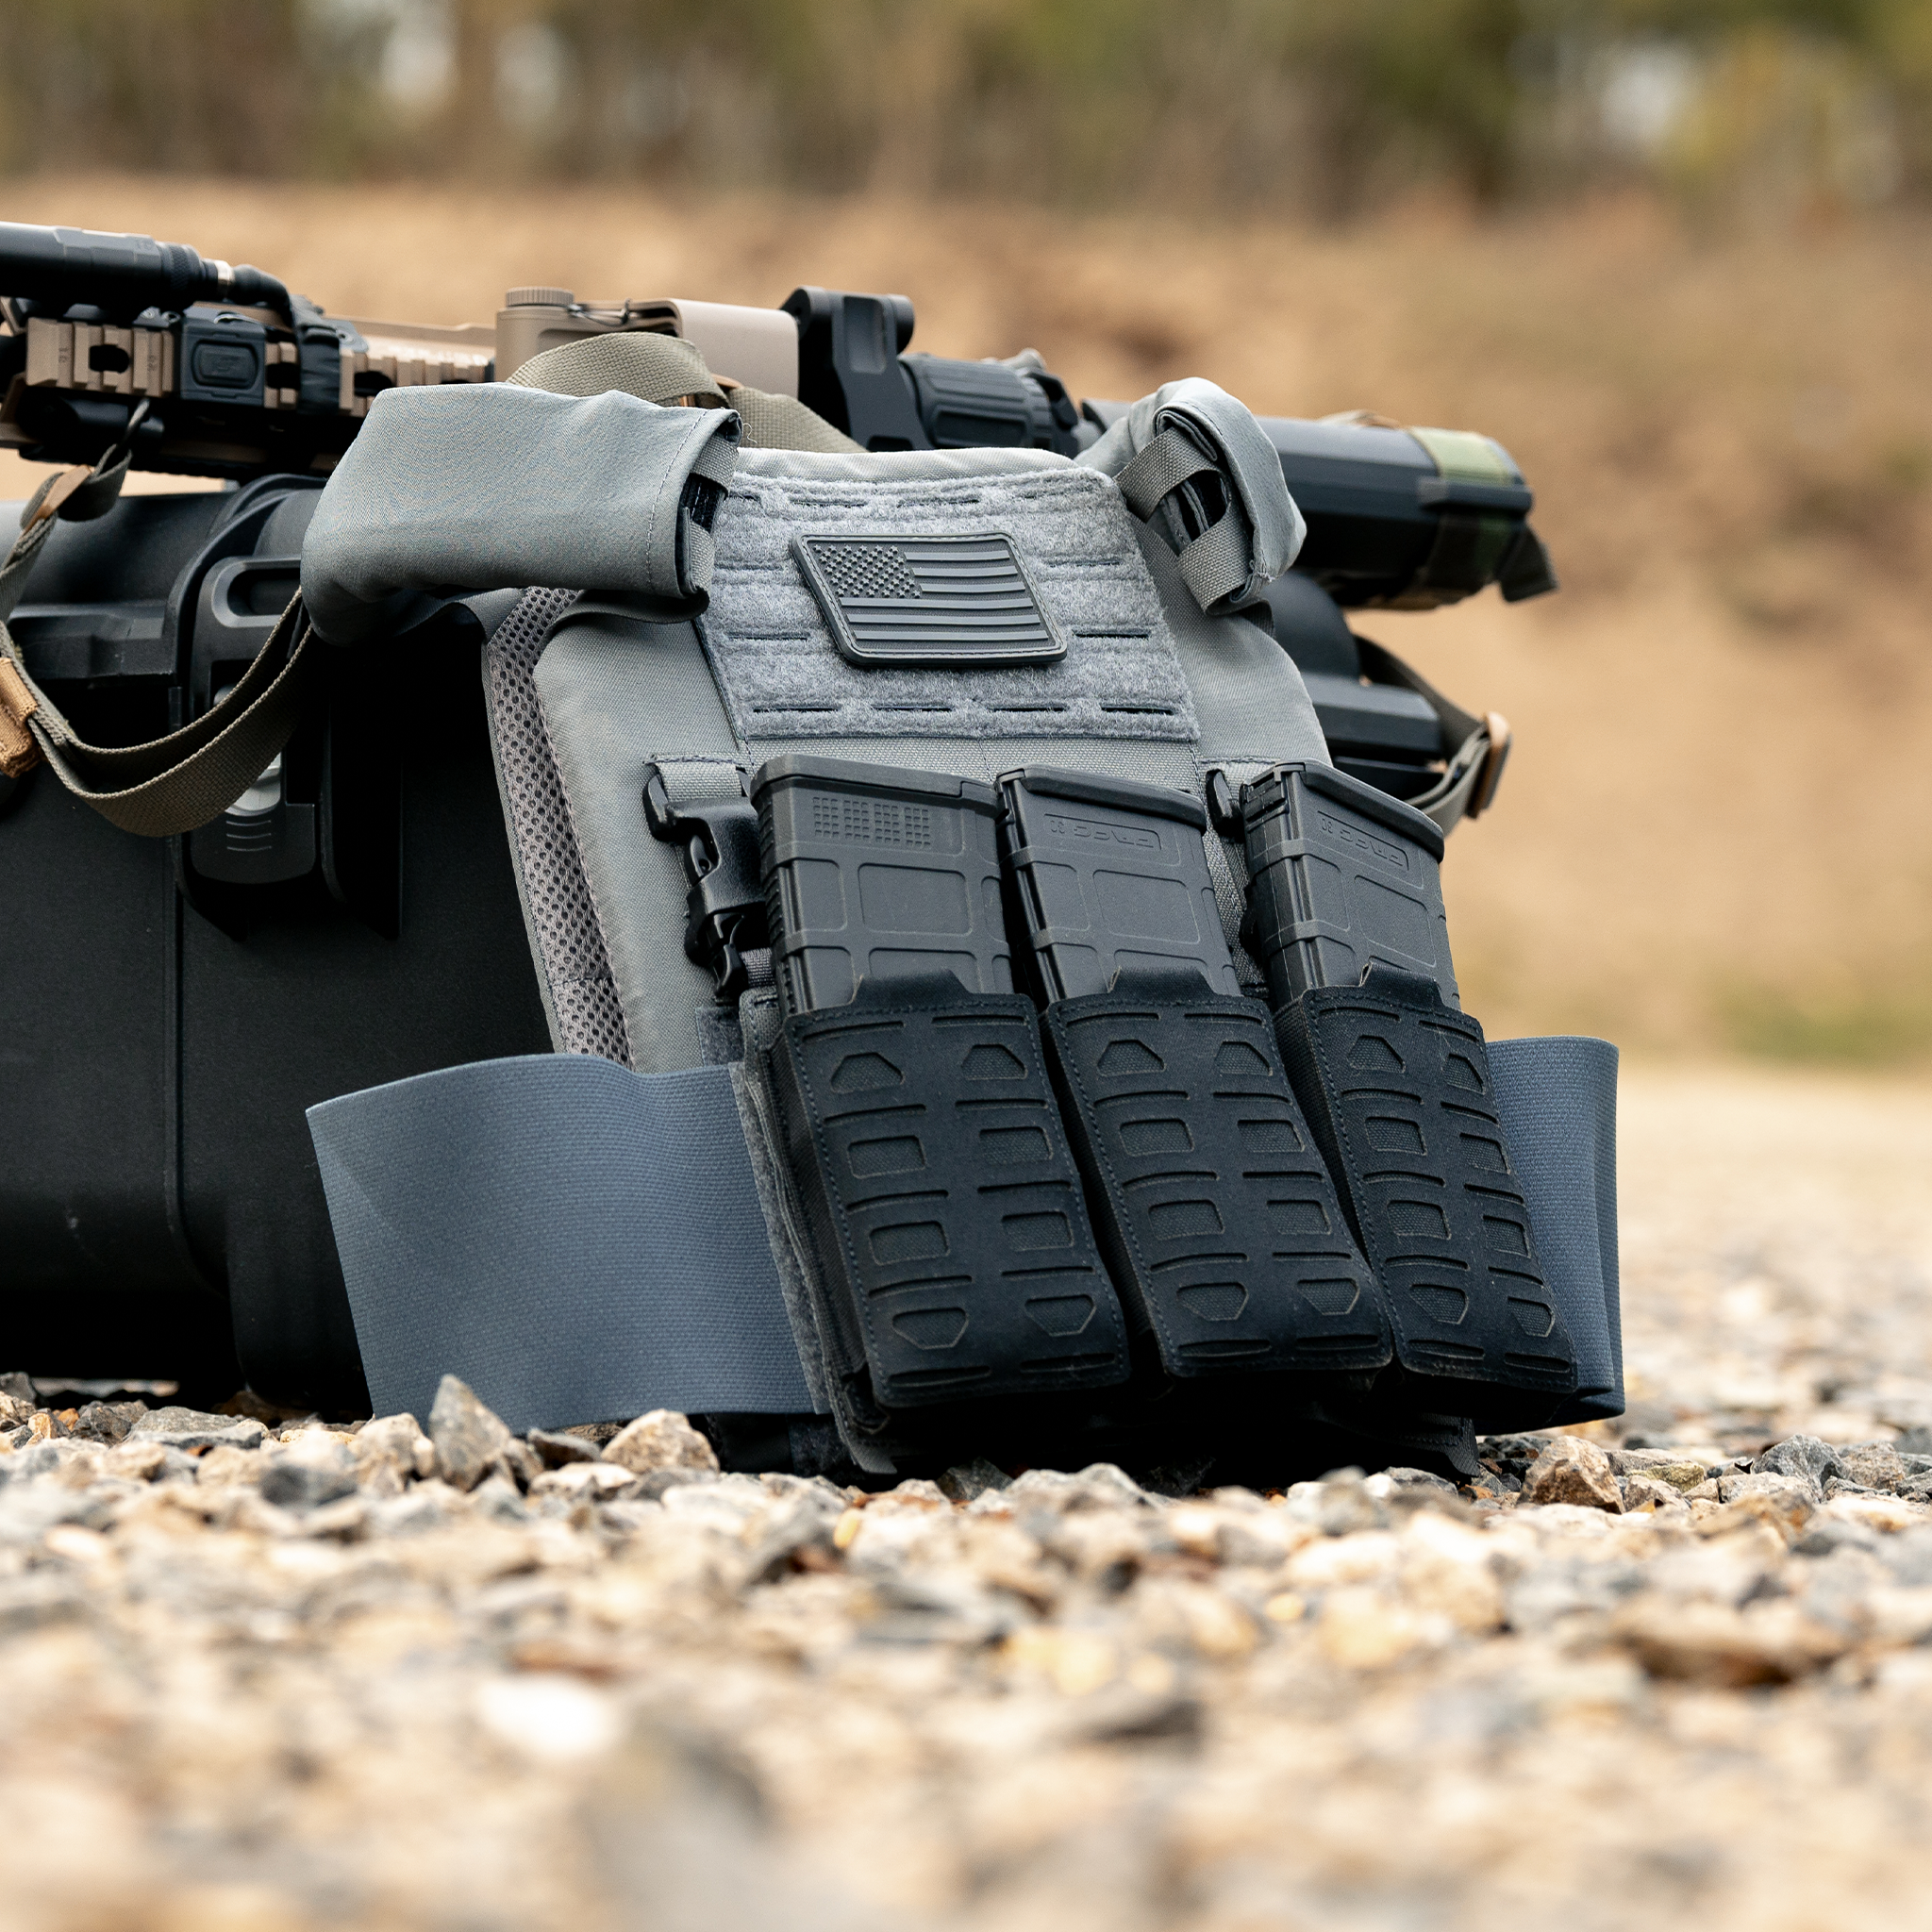
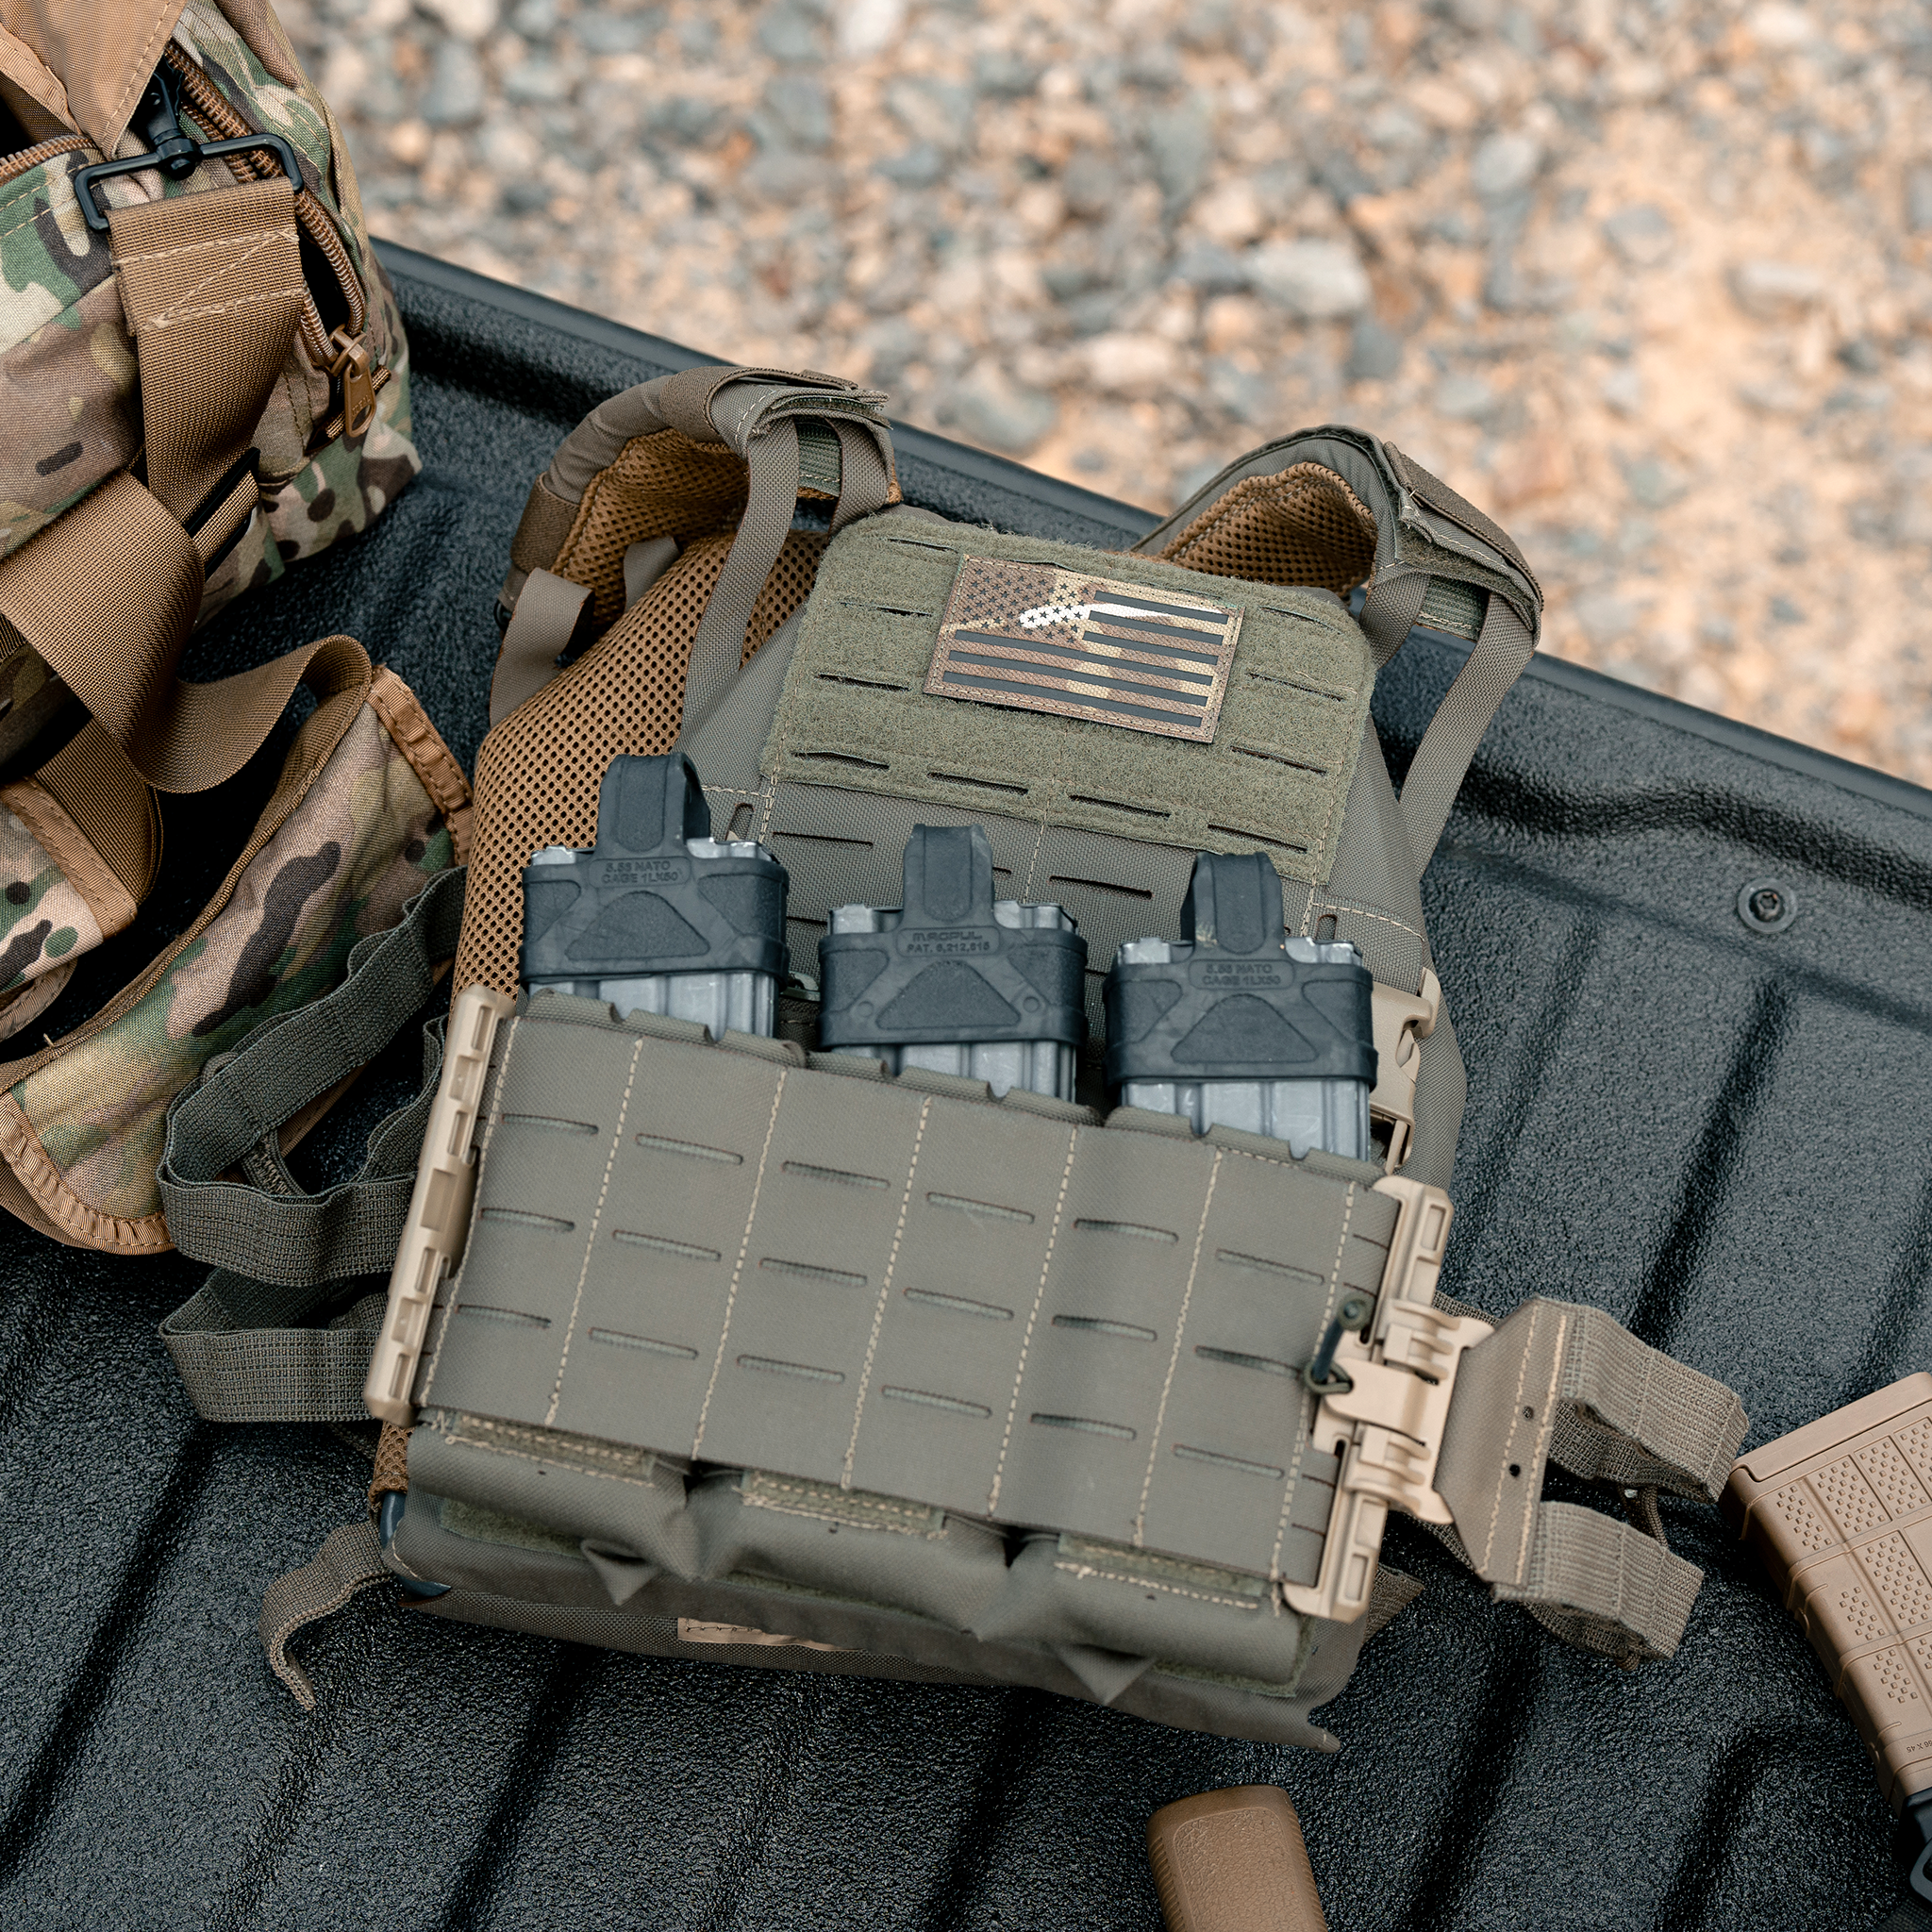
The front panel of your tactical plate carrier is your highest-value zone. Reserve it for the gear you'll access most — magazines. Primary mag pouches belong here, centered and within easy reach of your dominant hand. A common beginner mistake is mounting pouches too high, which can interfere with drawing a sidearm or clearing a rifle malfunction. Keep mag pouches mid-panel.
Best For:
-
Primary rifle magazine pouches
-
Secondary pistol magazine pouches
-
A small admin or radio pouch (low-center placement)
Cummerbund: Medical and Utility
Your cummerbund panels are ideal for gear you need fast but don't draw constantly. This is the natural home for your IFAK (Individual First Aid Kit). Critically, mount your IFAK so it's accessible with either hand — injury scenarios rarely give you a choice. Follow proper molle pouch weaving instructions to ensure it's locked in tight but still releasable quickly.
Best For:
-
IFAK / tourniquet pouch
-
Utility or multi-tool pouches
-
Communication accessories
Rear Panel: Keep It Light
The rear is often overlooked, but overloading it shifts your center of gravity backward, fatiguing you faster and disrupting your movement.
Best For:
-
Hydration bladder carriers
-
A minimalist sustainment pouch
-
Backup comms or signaling gear
The golden rule here is less is more. An over-loaded plate carrier restricts mobility and strains your spine over extended wear. Build intentionally — every pouch should earn its place. Of course, smart placement only works if the webbing itself can handle the stress, which raises an important question about the quality of the carrier underneath it all.
Why Your Carrier's Foundation Matters: The Caliber Armor Advantage
Everything covered in this guide — the over-under weave, strategic load-out placement, weight distribution — depends entirely on one thing: the quality of the webbing beneath your gear. Even the most disciplined plate carrier setup for beginners collapses when the foundation is substandard.
Budget Webbing vs. Caliber Armor: A Side-by-Side Reality Check
|
Budget "MOLLE-Style" Carriers |
Caliber Armor Tactical Plate Carriers |
|---|---|
|
Non-reinforced polyester webbing that stretches under load |
Reinforced stitching that maintains grid integrity over time |
|
MOLLE webbing tolerances are inconsistently applied |
Precision-cut grid meets standardized attachment specs |
|
Pouches shift or sag after extended wear |
Pouches lock firmly in position, even under physical stress |
|
Carrier degrades faster, requiring earlier replacement |
Built as a long-term investment in operational safety |
The difference becomes especially critical when your tactical plate carrier is carrying body armor plates. High-quality tactical gear relies on 500D Cordura or comparable high-tensile nylon to prevent the PALS grid from tearing under the weight of loaded rifle plates and rifle magazines.
A carrier with failing webbing compromises its wearer. That single truth should guide every purchasing decision.
Caliber Armor's body armor plate carriers are purpose-built to work in direct synergy with their NIJ certified body armor and Level IV body armor plate systems. You're not mixing unrelated components — you're fielding an integrated protection system.
Don't treat your plate carrier as a budget line item. Consider it as infrastructure.
Browse the full Caliber Armor tactical plate carrier collection and build your setup with confidence.
Key Modular Lightweight Load-carrying Equipment Takeaways
-
Webbing width: 1 inch
-
Vertical spacing between rows: 1 inch
-
Horizontal slot width: 1.5 inches
-
Bar tack spacing: Every 1.5 inches along the webbing length
-
❌ Skipping rows — creates "floppy pouch syndrome" where the pouch pivots and sags